- QR Generator
- Pricing
- FAQ
How to Convert Google Form to QR Code?
How to Convert a Google Form into a QR Code in a Few Simple Steps
- Create a Google Form
- Obtain the Google Form link
- Log in to DeepQR
- Add a Link component and paste the Google Form link
- Preview and generate the QR code
- Customize the QR code style and upload a logo
- Download the QR code
Preparation
Creating a Google Form
- Log into your Google Account: Ensure you are logged into your Google account. If you don't have one, you'll need to register first.
- Access Google Forms: Open your browser and go to the Google Forms website (https://forms.google.com).
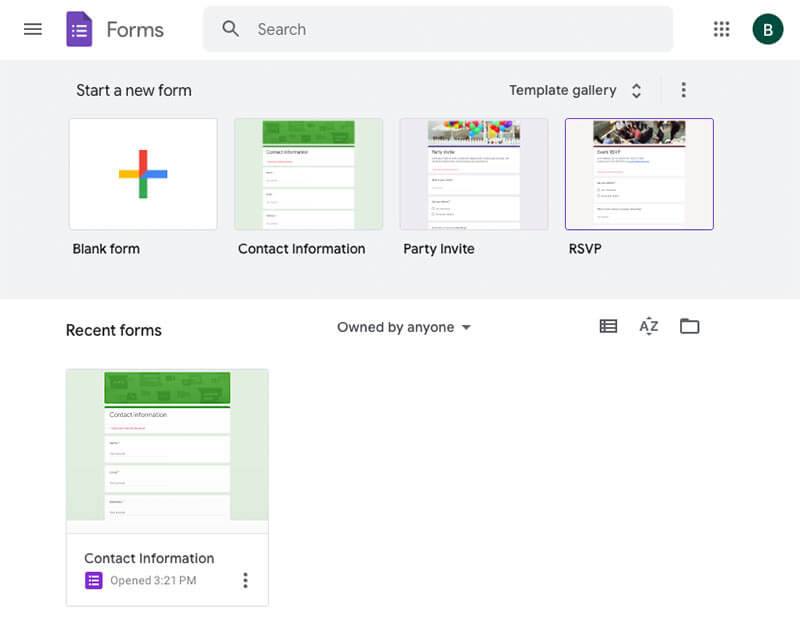
- Create a New Form:
- On the Google Forms page, click "Blank" or choose a pre-made template to start a new form.
- Enter the title and description of the form. The title should be concise, and the description can provide more details about the form's purpose.
- Add Questions:
- Click the “+” button to add a new question. Google Forms offers various question types, such as multiple-choice, text boxes, and drop-down menus. Select the appropriate type based on your needs.
- Add titles and options for each question, ensuring they are clear and easy to understand.
Finalizing Google Form Settings
- Configure Response Settings:
- Click the “Settings” icon (gear-shaped) at the top right of the page.
- In the “General” tab, you can choose to collect email addresses, limit responses to one per user, and other settings.
- In the “Presentation” tab, you can decide whether to show a progress bar, allow respondents to edit their answers after submission, and more.
- Customize Appearance:
- Click the “Palette” icon at the top of the page to choose the form’s theme color and background image.
- Google Forms also offers preset themes that you can apply to your form.
- Preview the Form:
- Click the “Eye” icon at the top right to preview the form. Ensure all questions and settings meet your expectations.
- If changes are needed, return to the editing mode to make adjustments.
- Save and Publish the Form:
- Once you’ve confirmed all settings, click the “Send” button at the top right of the page.
- Choose a sending method (e.g., via email, generating a link, or embedding it in a webpage) to publish the form.
Obtaining the Google Form Link

Publish the Form:
- On the Google Form editing page, click the “Send” button at the top right.
- A pop-up window will appear, offering various sending options, including email, link, and embed code.
Select the Link Option:
- In the pop-up window, click the middle “Link” icon (chain-shaped).
- You will see the generated form link.
Shorten the Link (Optional):
- If you prefer a shorter link for easier sharing, check the “Shorten URL” option.
- This will generate a more concise link, ideal for printing and sharing.
Copy the Link:
- Click the “Copy” button to copy the form link to your clipboard.
- You can also manually select the link and use a shortcut (e.g., Ctrl+C or Command+C) to copy it.
Generating a Google Form QR Code
Choosing a QR Code Generator
There are many online QR code generators available. Here are a few common and easy-to-use tools:
- DeepQR: Offers multi-functional, customizable dynamic QR codes, ideal for users needing high customization and real-time data analytics.
- QR Code Generator: A simple online tool for quickly generating static QR codes with basic customization options.
- GoQR: Provides basic QR code generation features and supports various data types (e.g., URL, text, SMS), suitable for general use.
You can choose a tool based on your needs. Below, we’ll demonstrate how to generate a Google Form QR code using DeepQR.
Generating a Google Form QR Code with DeepQR
Visit DeepQR Website:
- Open your browser and visit the DeepQR website . First-time visitors can register using a Google account or email address. Registration provides 3 free QR code creation credits that can be used for any QR code type.
Add the “Link” Component:

- The homepage is the QR code content editing area. Click the “Add Components” button to open the component selection panel. Choose the“Link” component and paste the Google Form link in the component editing window.
Preview and Generate the QR Code:
- The preview area shows the effect after scanning the QR code. For Google Forms, you can choose between two display modes: SOLO and COMBINED. In SOLO mode, scanning the QR code directly opens the Google Form. In COMBINED mode, scanning the QR code first displays a card with the Google Form link, which users need to click to proceed to the form. This mode is useful when the QR code includes other information, such as product images and descriptions, with a Google Form link at the bottom for user feedback.
Customize the QR Code Style:
- DeepQR allows you to adjust the QR code’s color, shape, border, and logo:
- Color: Choose suitable foreground and background colors, ensuring high contrast for easy scanning.
- Shape: Select different module shapes (e.g., circles, squares) to enhance aesthetics.
- Logo: Add a company logo or other icons to the center of the QR code to boost brand recognition.
- DeepQR allows you to adjust the QR code’s color, shape, border, and logo:
Download the QR Code:
- Click the “Download” button to complete the download. Before downloading, you can choose the file format (e.g., PNG, SVG) and resolution to meet your needs.
Using and Sharing the QR Code
Printing and Displaying the QR Code
Print the QR Code:
- Choose a Printer: Use a high-resolution printer to ensure the QR code is clear and visible. Laser printers or high-quality inkjet printers are recommended.
- Select Printing Material: Choose suitable printing materials based on the use case, such as paper, stickers, or business cards. Ensure the material surface is smooth and scan-friendly.
- Determine Size and Placement: Adjust the QR code size based on its purpose, ensuring scanning devices can easily read it. Maintain a clear margin around the QR code for better scanability.
Application Scenarios:
- Promotional Materials: Add QR codes to posters, flyers, and billboards for quick access to the Google Form.
- Product Packaging: Print QR codes on product packaging for user feedback, product registration, etc.
- Business Cards: Include QR codes on business cards to share personal information or contact forms.
Display Tips:
- Prominent Placement: Place QR codes in visible locations for easy scanning.
- Instructional Text: Add brief instructional text next to the QR code, such as “Scan this code to fill out the form,” to encourage scanning.
Online Sharing of QR Code
Social Media:
- Post the QR Code Image: Upload the QR code image to social media platforms (e.g., Facebook, Twitter, Instagram) with a brief description guiding users to scan it.
- Set Sharing Goals: Clearly state the purpose of sharing (e.g., gathering feedback, survey participation) in the post to increase engagement.
- Engage and Follow Up: Regularly check user feedback and interactions, respond promptly to queries, and maintain engagement.
Email:
- Embed the QR Code: Include the QR code image in emails, providing a link to the form. Place the QR code at the bottom or within the email body for easy access.
- Email Description: Explain the purpose of the QR code in the email, such as “Scan this code to participate in our survey,” to increase scanning rates.
- Email Signature: Add the QR code to your email signature for continuous sharing.
Website or Blog:
- Embed the QR Code: Embed the QR code image in your website or blog posts, offering a quick access link to the Google Form.
- Instructional Text: Add explanatory text next to the QR code, informing users of the scanning purpose and benefits.
- Pop-ups or Sidebars: Place the QR code in pop-ups or sidebars to increase visibility and scanning rates.