WiFi Component

Component Overview
The WiFi component allows you to easily share wireless network information without the need for verbal instructions or manual entry. By scanning the QR code, users can quickly connect to the designated WiFi network. Whether you're in a café, office, or at a family gathering, a simple QR code ensures your guests or clients can seamlessly connect to the network.
Highlights:
- Easy Connection: Users can automatically connect to WiFi by simply scanning the QR code, without the hassle of entering a complex password.
- Versatile Use: Ideal for various scenarios, from guest networks in public places to temporary network sharing at private events.
- Customizable: You can freely edit the WiFi name and password, and customize the QR code’s style, making it both functional and visually appealing.
Getting Started
Adding the WiFi Component
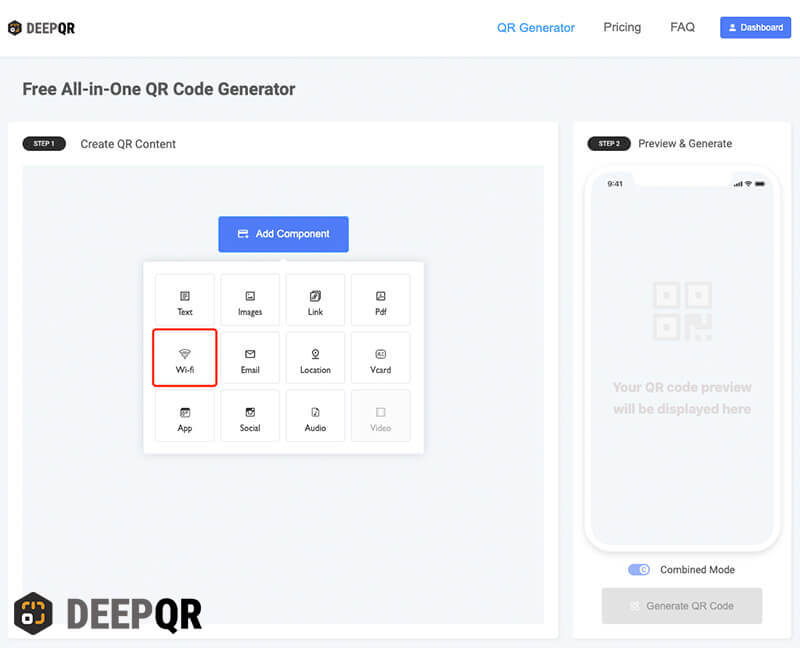
On the DeepQR homepage, click the "Add Component" button and select the "WiFi" component from the sliding component panel. This will open the WiFi information editing dialog, where you'll need to input some connection details, such as the WiFi type, SSID (usually found on the bottom of the router), and password. Keep in mind that the SSID can be modified, so if you're unsure of the current WiFi details, you may need to check with your system administrator or whoever set up the WiFi.
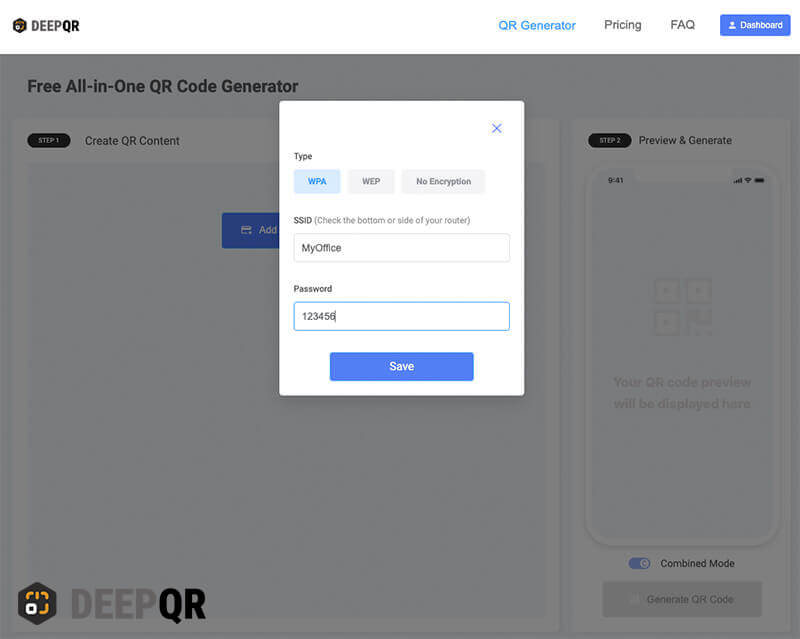
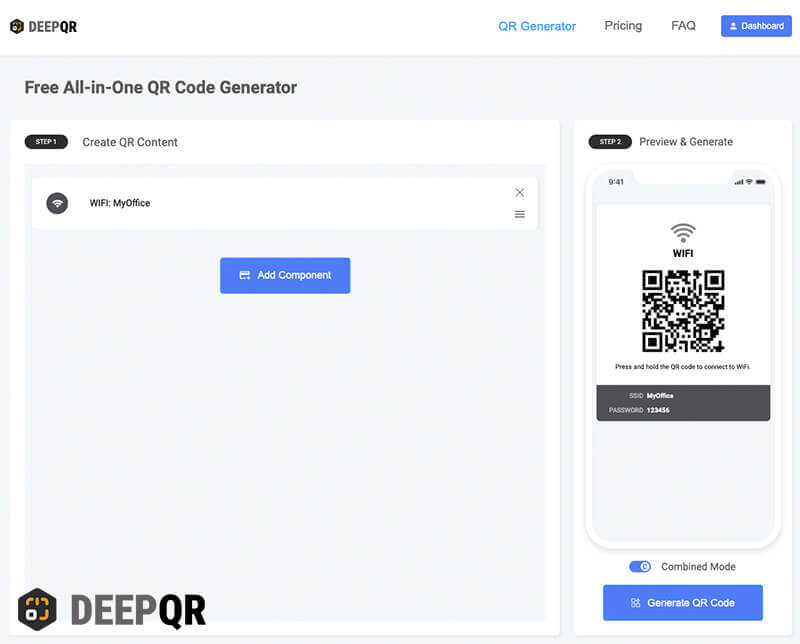
Once you've filled in the WiFi information, click the "Save" button to save your settings and return to the main screen. You’ll now see a WiFi connection card in the preview area (the card will include the QR code, SSID, and password). By default, the QR code is displayed in Combined mode, but if the QR code is solely for WiFi connection, you can switch to SOLO mode with the click of a button.
SOLO Mode vs. Combined Mode
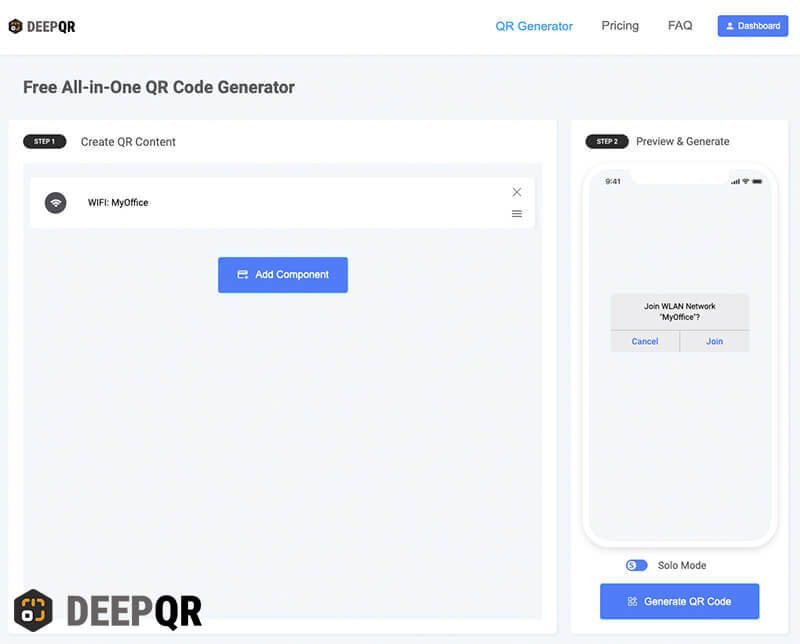
The WiFi component primarily uses SOLO mode. In SOLO mode, users scan the code and are directly connected to the WiFi, with the WiFi password hidden from view. However, if you want to include more content within the QR code, you can opt for Combined mode. In this mode, the QR code allows you to add multiple components, but users will need to long-press the QR code or manually enter the SSID and password to connect to WiFi. Each mode has its pros and cons, and you should choose based on your specific needs. Below is a detailed explanation and comparison of the two modes:
SOLO Mode
- Users connect directly to WiFi after scanning the code.
- No internet connection is needed on the user's phone to recognize the QR code.
- The WiFi password remains hidden from users.
- Additional components cannot be added to the QR code.
- Data analytics features are not available in SOLO mode.
- If you change the WiFi password, you’ll need to regenerate the QR code, as the old one will no longer work.
Combined Mode
- After scanning, users see a WiFi card and must long-press the QR code or manually enter the WiFi password.
- Users need to have an active internet connection on their phone to recognize the QR code.
- Users can see the WiFi SSID and password.
- Other components (like text, images, links, etc.) can be added to the QR code.
- Data analytics features are available.
- The QR code can be updated with a new SSID or password without needing to regenerate it.
Frequently Asked Questions
Is the WiFi QR code permanently valid?
If you’re using SOLO mode, the generated WiFi QR code will be permanently valid, making it a static QR code.
Why can’t I use SOLO mode after adding an image component?
SOLO mode only supports single components (specific ones like the WiFi or Link component). If you need to use multiple components, you must switch to Combined mode.
Why can’t I connect via the QR code after changing the WiFi password?
After changing the WiFi password, you need to update the password in the WiFi component and save the changes. If you’re using SOLO mode, you also need to replace the old QR code with the newly generated one.
Update Log